My sister and I wanted to get a little crafty last week and decided to make some polymer clay bead necklaces!
I don’t typically wear much jewelry, so I came up with a design that was simple, customizable and could be worn with pretty much anything:
Materials (all of these can be found at your local craft store or in your kitchen):
- polymer clay (we used Sculpey Premo)
- aluminum foil
- baking sheet
- toothpicks
- paint brush
- glaze (we used Sculpey Satin Glaze)
- thin cording
- scissors
Directions:
1. Roll clay into approximately 1-inch balls and poke a hole through the center using a toothpick.
2. Line a baking sheet with aluminum foil, place beads onto the sheet and bake the clay according to the package directions.
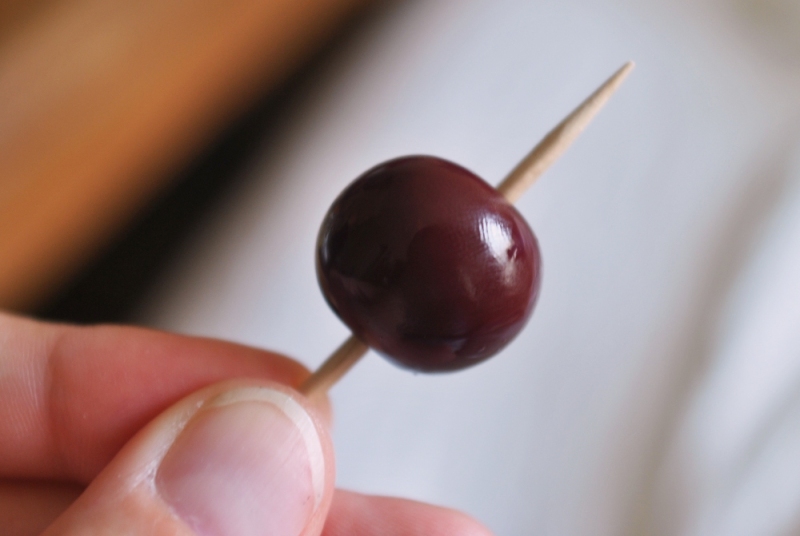
3. After beads have cooled, paint with two coats of glaze. Hint: Use a toothpick to hold the bead while glazing to prevent it from getting all over your fingers. (Skip this step if you want your beads to have a matte finish.)
4. Measure and cut cording to your desired necklace length. Remember: Necklace must be long enough to fit over your head!
5. Once beads are completely dry, thread both ends of the cording through the center of each bead and knot to secure them.
6. Show off your new necklace!
Got questions or suggestions? Leave them in the comments – I’ll meet you there!


great idea, and the best part is that it’s super simple!
Thanks for sharing-!
Exactly! Thanks for stopping by!! :)
love this! :D such great colors you chose too.
Nice :) love it